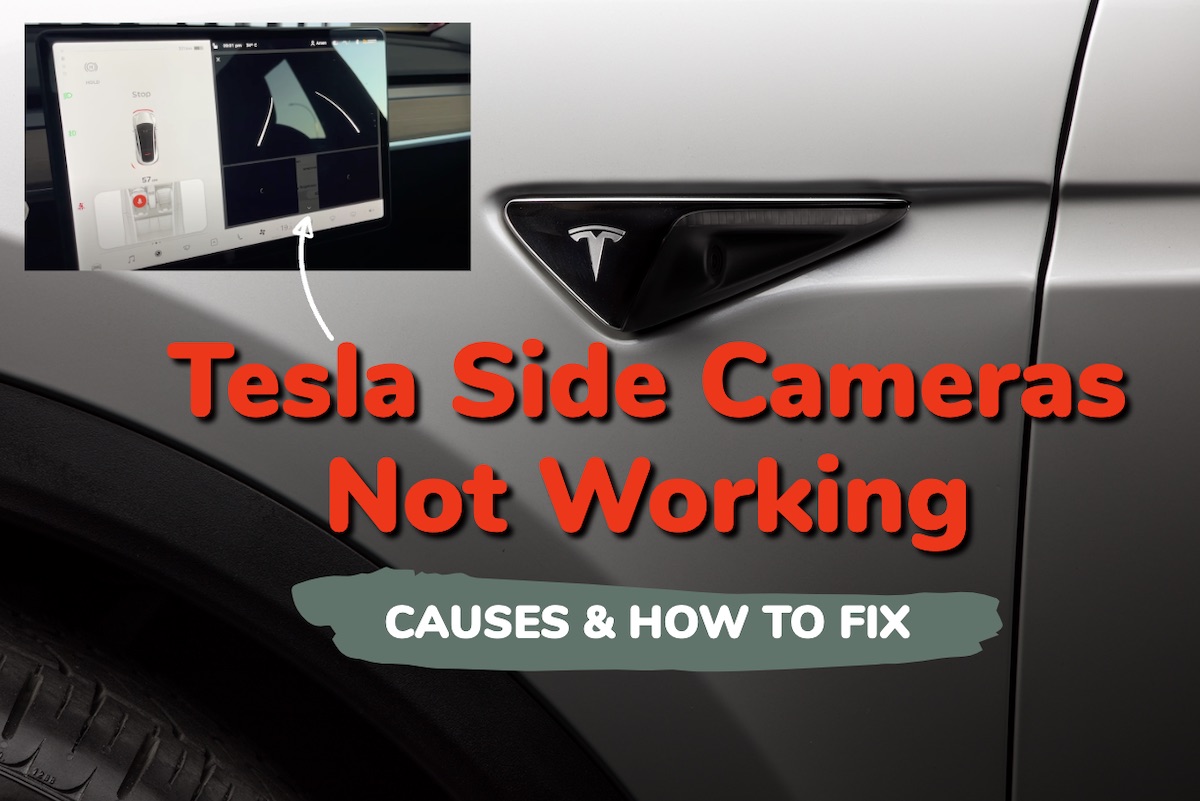
Sometimes, your Tesla side cameras might not work (shows a black screen or a blinking screen), and sometimes causing an error message to appear on your screen. This can be frustrating, especially when you rely on these cameras for assistance while driving your Model 3, Model S, Model X or Model Y.
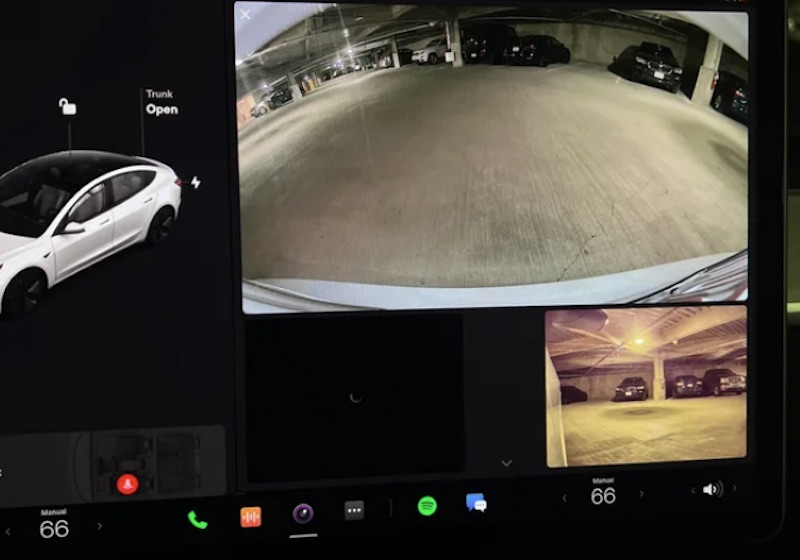
Even more, this issue may affect certain features on your Tesla that depend on the cameras such as the Autopilot feature, Live Sentry mode, and more.
In this guide, I will explain some of the common reasons why your Tesla side cameras may not work. More importantly, I will show you some quick and proven ways to resolve the issue.
Without any further ado, let’s begin right away!
Why Are My Tesla Side Cameras Not Working?
There are various reasons why your Tesla side cameras may not work, some of these include:
1. Software Glitch or Bug
One of the reasons why your Tesla side cameras may not work is software glitch or bug. It also explains why some Tesla owners reported that their vehicle’s side cameras stopped working after a software update.
In most cases, this is a temporary glitch that can be resolved be a reset.
2. Loose Connection
Another likely cause of Tesla side cameras not working is a loose connection on the camera board or a bad connection between the cameras.
This can happen in any Tesla model, so it doesn’t matter if you own a Model 3, Model S, Model X or Model Y.
3. Obstruction on Camera Surfaces
Another potential issue that might be causing the cameras not to work is dirt, moisture, or other obstructions on the camera surfaces. This obstruction can cause the camera to show a black screen or even cause an error message to be displayed on the screen.
4. Weather Conditions
Extreme weather conditions, such as heavy rain, snow, or fog, can affect the performance of Tesla’s cameras. In these conditions, the side cameras may become unavailable.
Condensation can form inside the camera enclosures, especially if you park your vehicle outside in cold or wet conditions. The touchscreen may display an alert stating that a camera is blocked and that some or all Autopilot features may be temporarily restricted until the camera vision is clear.
5. Physical Damage
Lastly, the side cameras may not due to a physical damage to the cameras. Sometimes, this might be due to a manufacturing fault.
6. Faulty Printed Circuit Boards (PCB)
Your side camera might not be working due to issues with the internal printed circuit boards (PCBs). PCB problems typically require either repair or replacement by an experienced technician.
Now, let’s look at some proven ways to fix the issue and get your side cameras to start working again.
How to Fix Tesla Side Cameras Not Working
Follow the step-by-step procedures below to fix Tesla side cameras that are not working.
1. Perform a System Reboot
The first thing you need to do if your Tesla side cameras are not working is reboot the car system. This can help to fix software glitches or bugs that may be responsible for the issue.
Here’s how to do that:
- First, shift into park
- On the center screen, tap on “Controls” > “Safety & Security” > “Power Off”
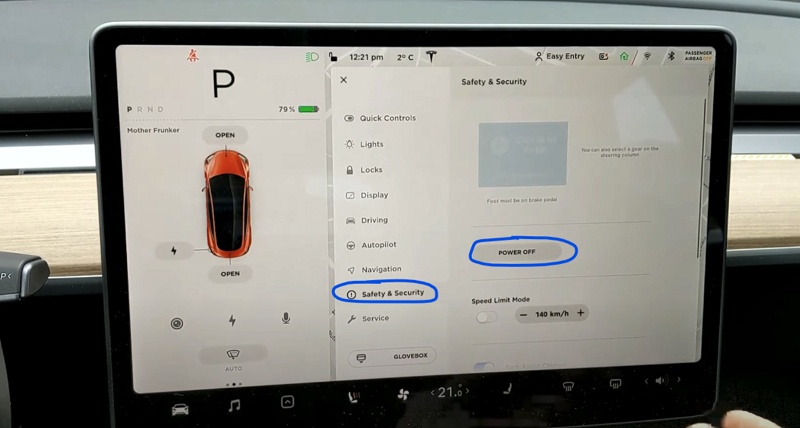
- The screen will turn off and the car will also power off. Then, wait for at least two minutes without interacting with the vehicle (i.e don’t open the door, press any of the pedals or touch the screen while waiting). This is to ensure that the car fully shuts down and that the hard reset is successful.
- After two minutes, press the brake pedal or open the door to wake the vehicle
Once the hard reset is done, your Tesla side cameras should now be working. If not, move to the next step.
2. Reset the Cameras
The next step in addressing Tesla side camera issues is to perform a simple camera reset. It is important to note that resetting the camera system will not erase any data or settings on your Tesla.
To reset the camera system on a Tesla, follow these steps:
- Park your Tesla in a safe location and put it in Park.
- Touch the Tesla “T” at the top center of the touchscreen.
- Select “Service” from the drop-down menu.
- Select “Safety & Security” from the Service menu.
- Select “Camera” from the Safety & Security menu.
- Select “Reset Camera”.
- Confirm that you want to reset the camera system by selecting “Yes” on the pop-up message.
After confirming the reset, the camera system will be restarted, recalibrated and the side cameras should now start working as well.
3. Check for Software Updates
The next thing you need to do is check for any available software update on your Tesla. These updates come with bug fixes for many features on Tesla.
- To check for updates, go to the Software tab on your touchscreen and tap “Check for Updates”.
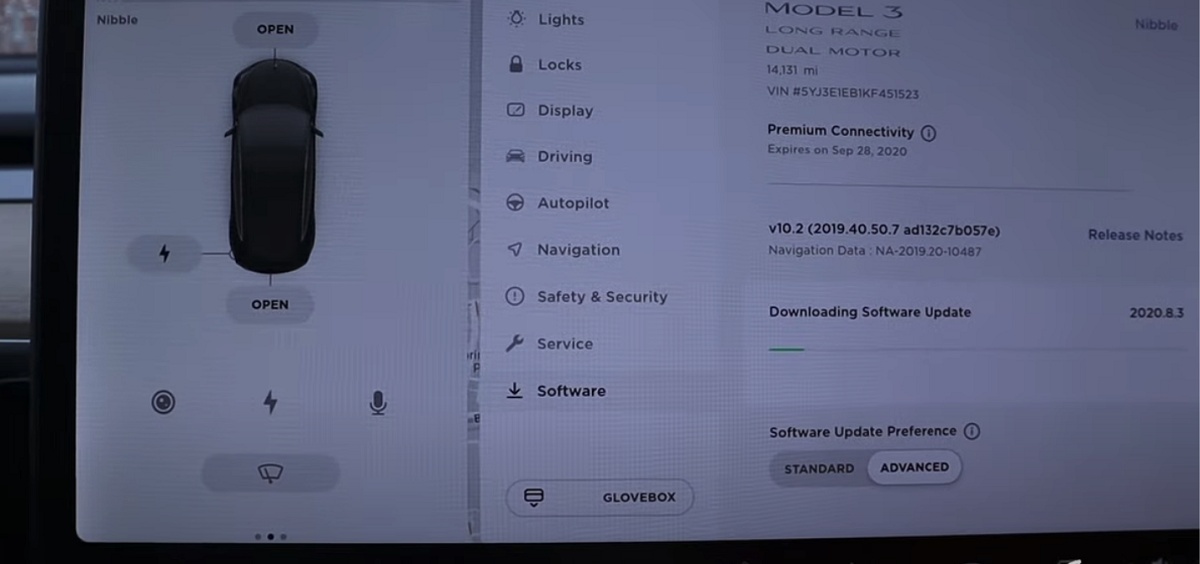
- If there’s an update available, follow the on-screen instructions to install it.
Also, make sure you maintain a strong internet connection during update to prevent it from getting stuck.
If there are no available updates or the issue is till not fixed after a software update, then move to the next step.
4. Clean the Cameras
Like I mentioned earlier, obstructions on the side camera can also prevent them from working. In fact, regularly cleaning your cameras will help prevent this issue from happening in the future.
However, you need to be cautious when cleaning, as excessive pressure or improper cleaning materials might damage the camera.
Here’s the right way to clean your Tesla side cameras:
- Use a soft cloth, such as a microfiber cloth, to wipe away dirt gently.
- Don’t use abrasive materials, as they could scratch the camera lens.
- In case of moisture or fog, allow your vehicle to air out, or use a hairdryer on low heat to clear the mist gently.
If your Tesla side cameras are still not working, then try the next fix.
5. Open the Trunk and Close It Back
One of the quickest ways to fix Tesla side camera not working or showing a black screen is to actually open the tailgate or trunk, and closing it back immediately.
I can’t explain to you why this works, but it does work. Somehow, opening and closing the trunk resets the camera system even when the actual soft and hard reset options do not work.
There are several reports of this on different forums as well as on YouTube.
Here are the various methods to open Tesla trunk:
Method 1: Using the Touchscreen Display
- Sit inside the car and turn it on.
- Locate the “Controls” menu on the touchscreen display.
- Tap the “Trunk” icon to open the trunk.
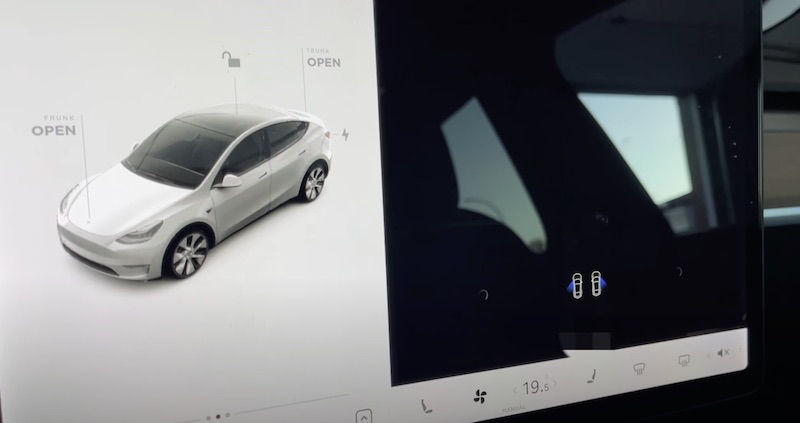
- To close the trunk, tap the “Trunk” icon again.
Method 2: Using the Tesla Mobile App
- Download and install the Tesla mobile app on your smartphone.
- Open the app and log in to your Tesla account.
- Tap the “Trunk” icon on the app’s home screen to open the trunk.
- To close the trunk, tap the “Trunk” icon again.
Method 3: Using the Physical Button
- Locate the physical button on the underside of the trunk lid.
- Press and hold the button to open the trunk.
- To close the trunk, press and hold the button again.
Method 4: Using the Key Fob
- Stand within range of the car (usually within 30 feet).
- Press the trunk button on the key fob twice. This will cause the trunk to open automatically.
- To close the trunk, press the trunk button on the key fob once.
Note: Some Tesla models may have additional methods for opening and closing the trunk, such as using voice commands or foot sensors. Check your car’s manual for more information.
Once the trunk is closed back, then your Tesla side cameras should start working again.
Here’s a video of one Tesla owner fixing a camera issue with this method of opening and closing the trunk:
6. Inspect the Side Cameras for Damage
The next thing you need to do is to inspect the side cameras for any sign of physical damage. To do this, check each camera and look for any signs of wear, looseness or damage. The electrical connections may also be loose.
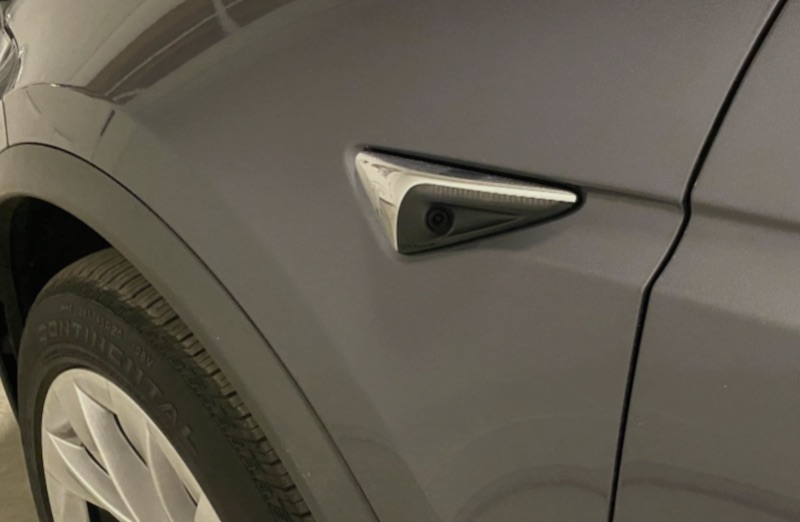
Therefore, you need to remove the side cameras to check properly (both physical damage and loose electrical connections).
Here’s what you need to do:
- First, completely power off your Tesla (hard reset) as shown earlier, make sure you do not turn it back on.
- Next, locate the side cameras on the front fender area.
- Then, you need to carefully remove the side cameras as shown in the video below (you will need a pry tool).
- Once removed, clean the surface of the camera with a soft dry cloth to get rid of dust or dirt.
- Then, inspect the wires and ensure that they are tightly plugged in. You can unplug the wires and plug them back in.
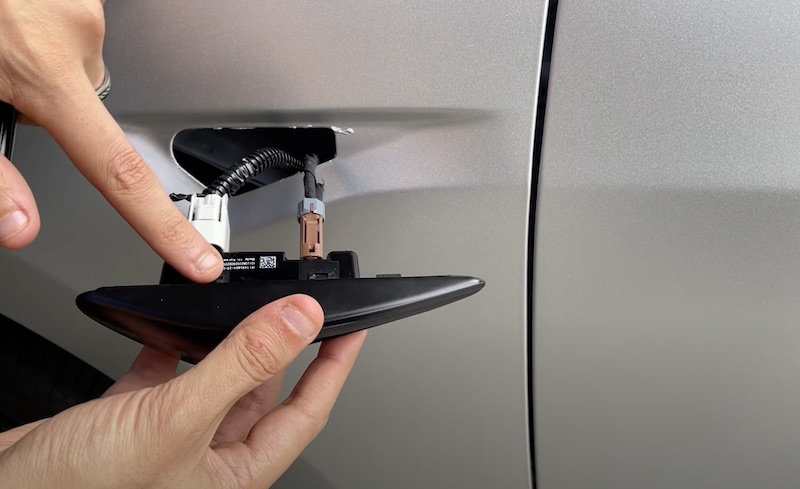
- Then, check the cameras carefully to locate the broken pieces. If you find one, the cameras may need to be replaced.
- You can get a replacement on Ebay and do the repair yourself, or you can get Tesla service technicians to help you fix it.
If you choose to replace it yourself, the videos below will help you with that.
7. Charge Up the Car Even If Not Low
A number of Tesla owners who had issues with their cameras not working or showing a black screen have reported that charging up their Teslas fixed the camera issue.
This is in spite of not having a low battery in the first place, which makes “software bug” the only reasonable explanation to attribute to this fix.
Therefore, whether your Tesla is at 50% or even 75% battery, charge it up as high as 90% and the cameras might just start working again.
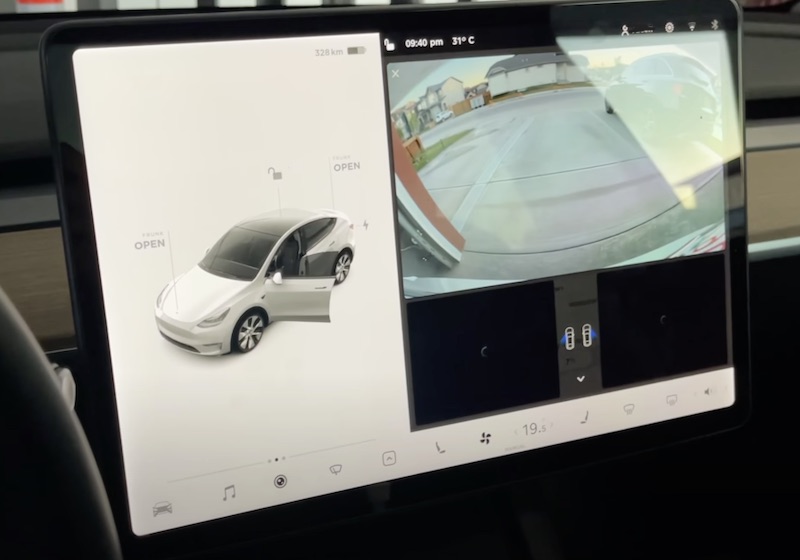
Once charged, press the camera button on the center screen and hopefully, that works for you as well.
8. Contact Tesla Service Support
By following the steps discussed in this guide, your Tesla side cameras should start working once again.
If the issue persists, you can go ahead and schedule a service appointment.
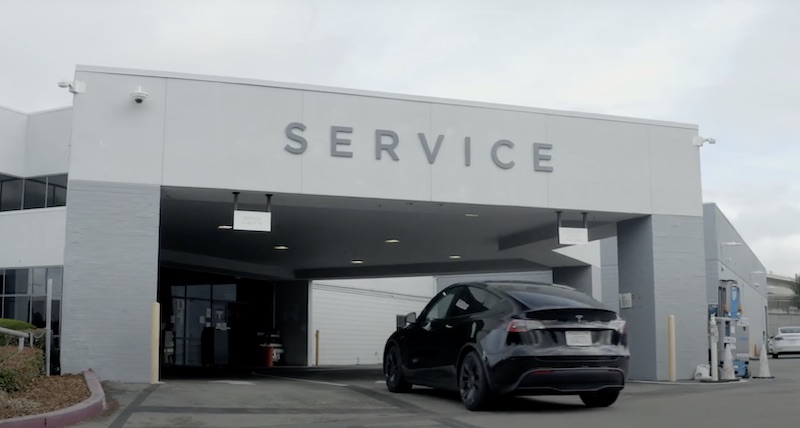
If the technician determines that your side camera is indeed faulty, they will replace it at no cost to you.
When you do, be sure to provide detailed information about the issue you’re experiencing, including any troubleshooting steps you have attempted. This will help your Tesla service technicians diagnose the problem more efficiently and ensure your Tesla is back to working order as soon as possible.

